Jun
Integration Steps | Utilizing Webmerge for Salesforce implementations

WebMerge provides you the capability to create your own dynamic document. It enables you to create any type of document you wanted to create with customizable options. You can choose a Word Document, Excel spreadsheets, PDF, PowerPoint presentation or create your own document using WebMerge’s simple document builder. Competitive Advantages Easy and One Time Template Setup: You can setup any document very easily in WebMerge. It also provides a list of sample Documents where you just need to select it and modify it as per your business needs. Dynamic Document & Easy Mapping: It allows you to create own documents with dynamic fields mapping. Time & Cost Saver: Time is Money.!! With WebMerge, you can save approx. 30-60 minutes per Document which also results in huge savings for the company. Powerful Automation / Delivery Options: WebMerge not only limits to generate Dynamic Document but it also has capability to save your documents on cloud (e.g. Salesforce, Amazon S3, Google Drive, Dropbox and more). You can send document to customer as Email attachment an inviting them to E-Sign your document. WebMerge integration with Salesforce WebMerge automatically imports data from your Salesforce objects and generates dynamic PDF, Word documents, PowerPoint presentations, and more in minutes.
Quick WebMerge Salesforce Integration Steps: Step 1: Create your WebMerge Account using the steps below:
Go to https://www.webmerge.me | Click on “Try it Free” option | Activate your WebMerge Account and Login | Generate “API Access key” for Salesforce. 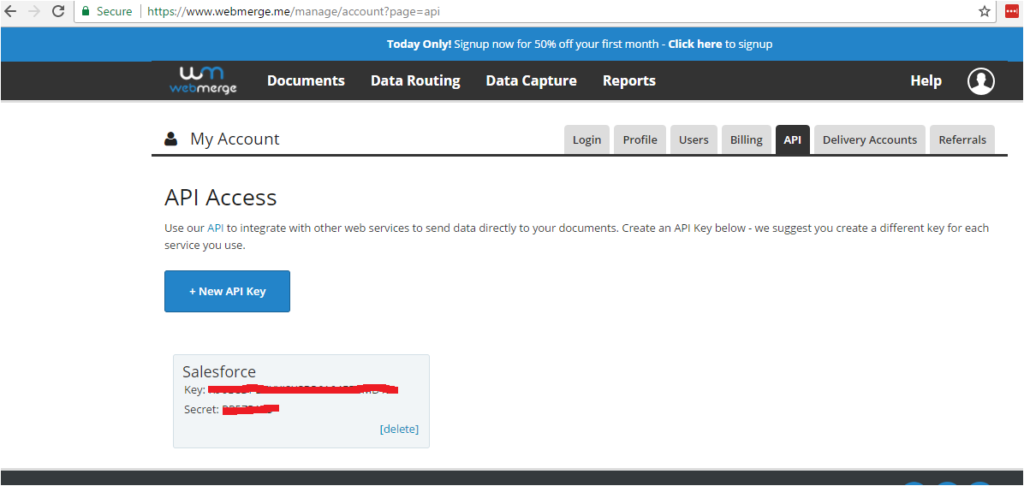
(Figure: WebMerge Generate API Access Key)
Step 2: Install WebMerge Package to your salesforce environment.
WebMerge for Salesforce managed package is available for Group, Professional, Enterprise, Unlimited, Developer, and Performance editions. Once installed, you can build, manage, edit WebMerge documents from within Salesforce and connect documents with your Salesforce Objects.
Go to https://appexchange.salesforce.com | Search “WebMerge” | click on “Get it Now” 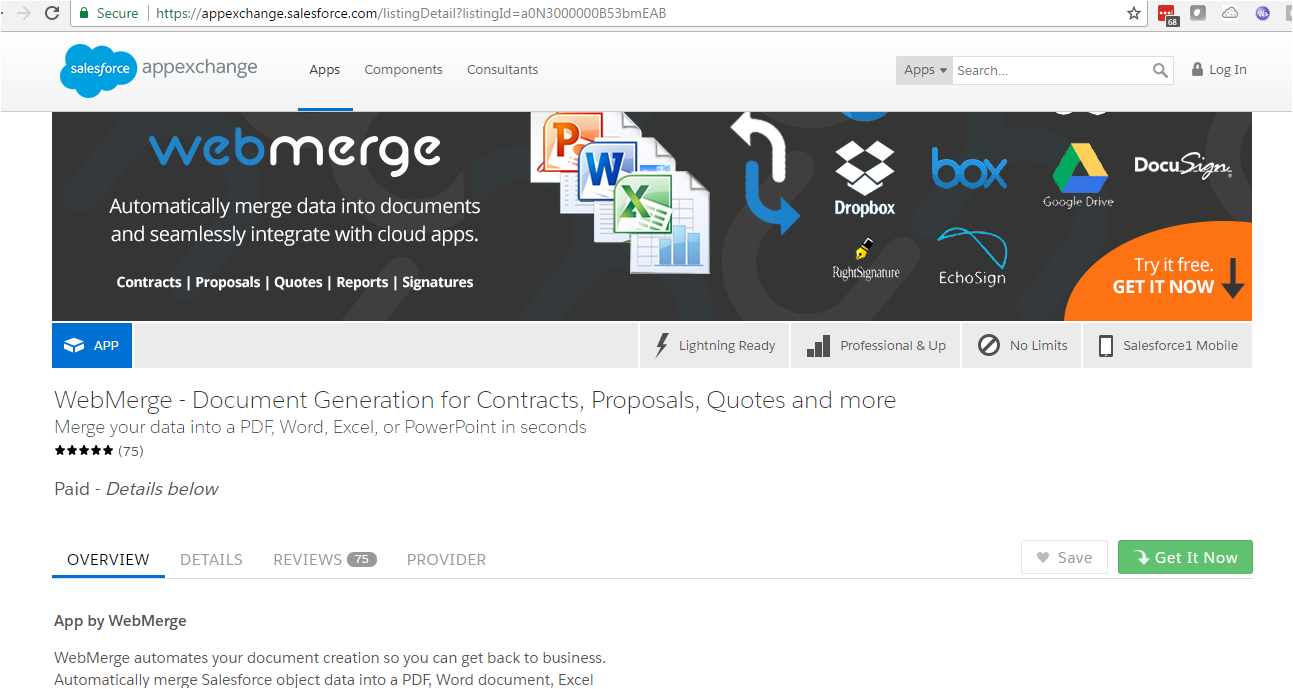
(Figure: WebMerge AppExchange listing Page)
Step 3: Click on “WebMerge Setting” Tab | Enter “Key” and “Secret” token generated in step 1. 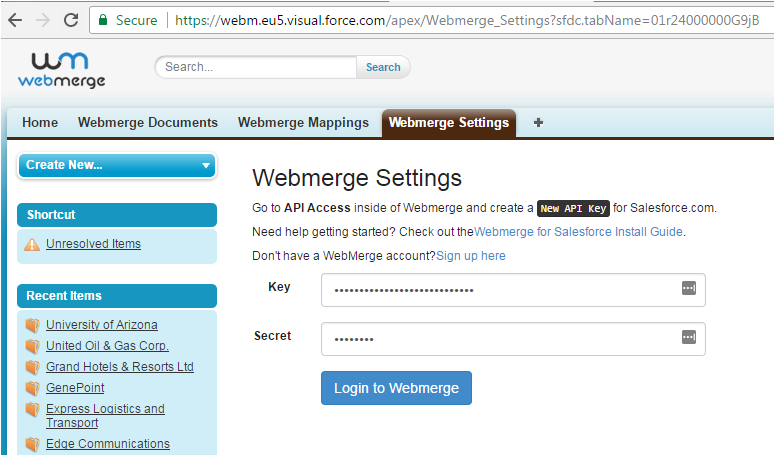
(Figure: Login to WebMerge Account in Salesforce)
Step 4: You can use standard salesforce objects like Accounts, Opportunity, Lead, Case and Contact or you can add your Custom Salesforce Objects.
Here, we’ll be generating a simple Opportunity for Product Sales Quote Statement on Opportunity object in Salesforce.
To get started, First setup our Opportunity for Product Sales Quote Statement template. For the template, we’re going to use a default “Sales Quote” template. Just remember you can create your own customized template with your Company Logo and other details.
One more thing, if you have your template ready in a word or PDF, you can upload that document using “Office Document” option and use it. 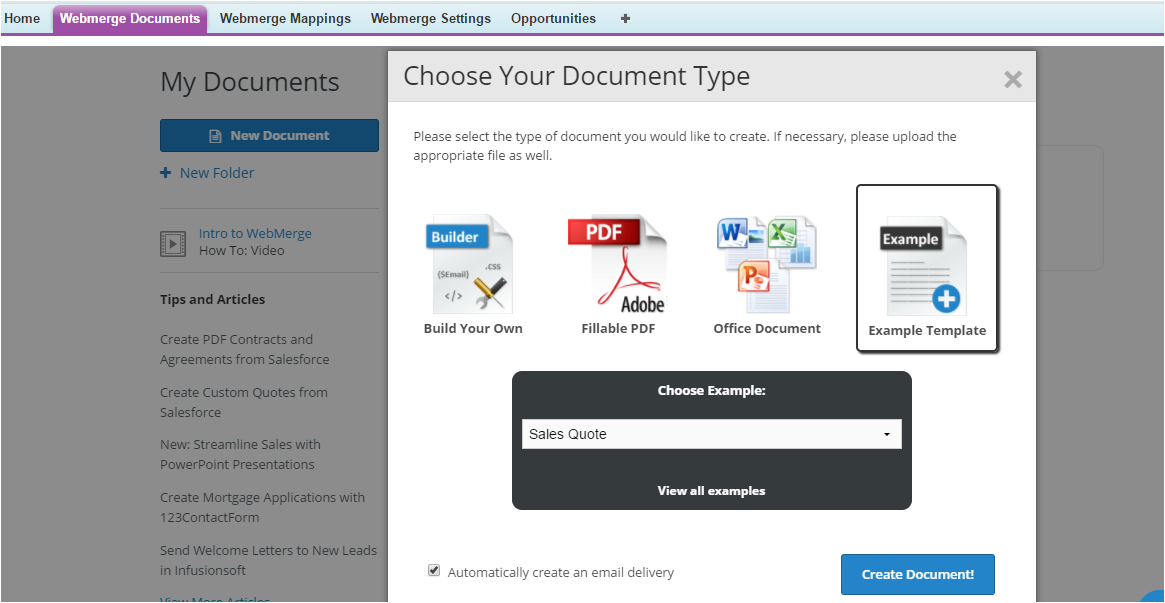
(Figure: WebMerge Document Options)
Once you are done with your template creation, let’s have some settings done for your document like Name of the Document, Output of the Document (MS Word, PDF, HTML, etc.), file name and have Email or Storage Platform selection or E-Signature setup done as per your needs. 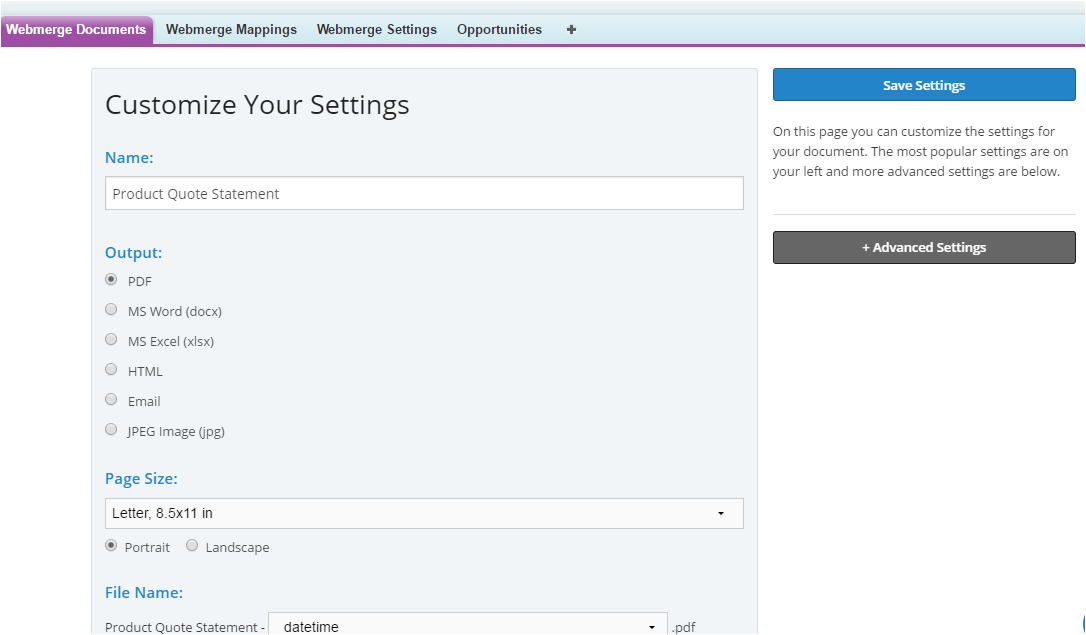
(Figure: WebMerge Template Saving Options)
Now, let’s map the document with salesforce Opportunity object fields. Click on “WebMerge Mapping” Tab | Click on “New Webmerge Mapping” 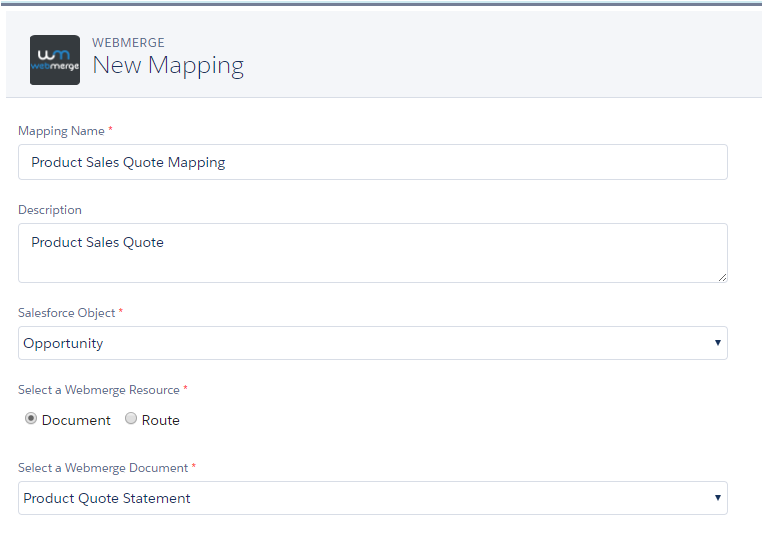
(Figure: WebMerge Mapping Creation)
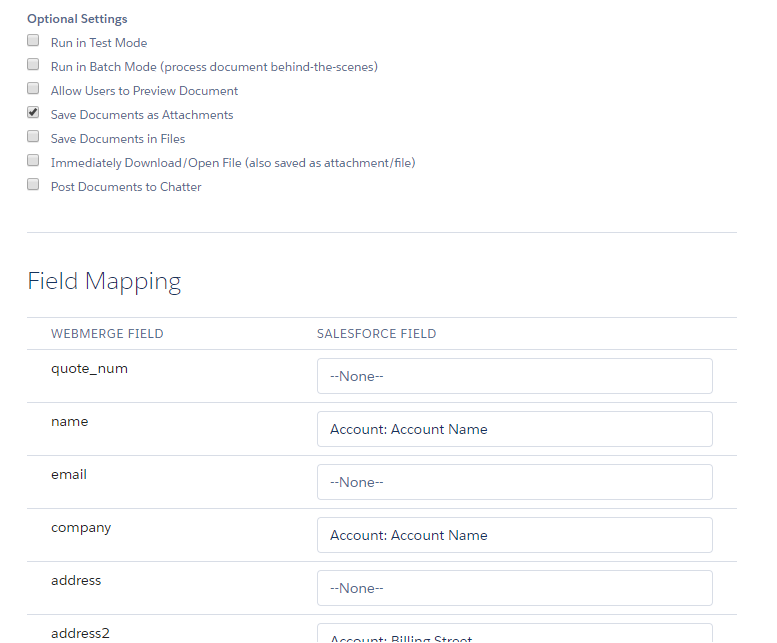
(Figure: WebMerge Mapping Options)
After you have the field mapping done, go ahead and Click Save and Activate this mapping. Put “WebMerge” button on Opportunity Page Layout and generate your Opportunity for Product Sales Quote Statement.
Let’s do a test! Open one of your Opportunity Record and click the WebMerge button. 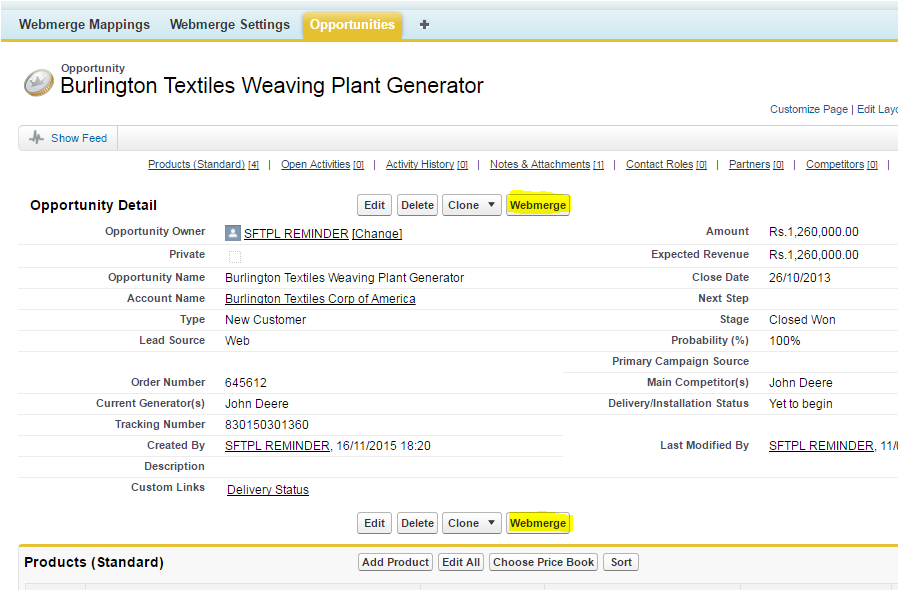
(Figure: Testing WebMerge Document generation)
On the next screen, you will see the Mappings you have setup for the Opportunity record, also you will be seeing the list of Product displayed on screen select the Product which you want to add into your Product Quote Statement, Click “Merge Now” button. 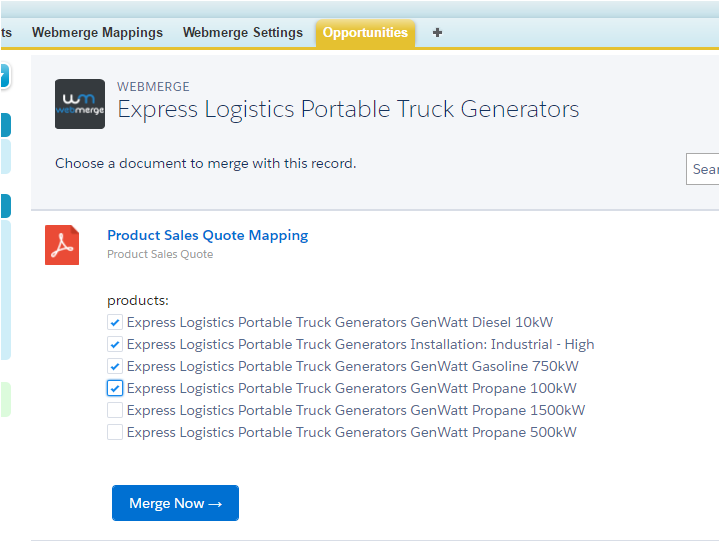
(Figure: WebMerge Document Merging Options)
After a few seconds, you’ll be redirected back to the Opportunity record and the Quote Copy will be attached to the Notes and Attachment section.
I hope you have liked this quick demonstration on how easy it is to use WebMerge in Salesforce environment and how Webmerge makes your document generation processes so simple. If you have any questions leave a comment and I shall respond back.
Sailfin Technologies is a Certified implementation partner of WebMerge for all Salesforce related implementations.